Matti and I just published two tutorials on Instructables.
 .
.
The first introduces the field of Computational Photography, and motivates the project.
The second shows you how to simulate our Large Light Field Camera Array with a single camera
Enjoi.
Matti and I just published two tutorials on Instructables.
.
The first introduces the field of Computational Photography, and motivates the project.
The second shows you how to simulate our Large Light Field Camera Array with a single camera
Enjoi.
Priya Ganapati wrote an article about the DIY Book Scanner project on Wired Gadget Lab, a column dedicated to emerging technologies.
I’m particularly pleased to see this quote from Pam Samuelson, who I had the pleasure of meeting at D is for Digitize.
“There have to be things that you get with an e-book that you don’t get by making your own copies,†says Samuelson. “It’s not such as stark challenge for copyright owners, because not many people are going to take the trouble to make their own scanner system. Most of us want the convenience of buying digital books for the Kindle, Nook or Sony Reader.â€
Good article, though the quotes from me are… a bit paraphrased…
Several people have contacted me looking for some images of my new scanner — here are a few. I relinquish any copy rights to these images; they are in the public domain now. If you feel like being really nice, credit me when you use them.
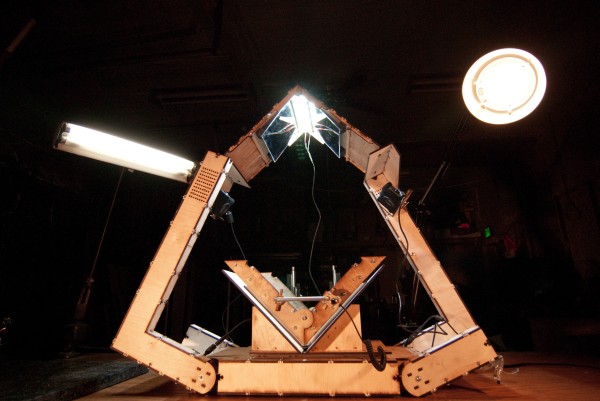
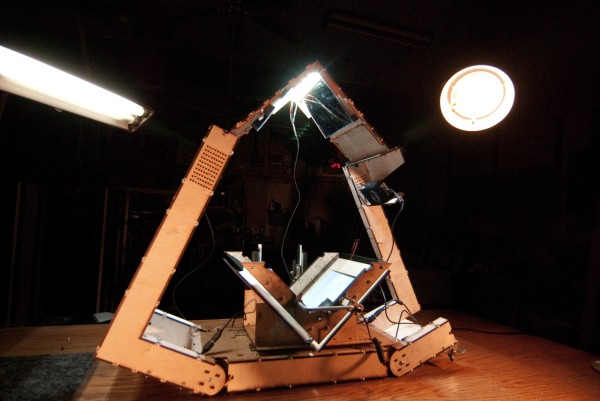

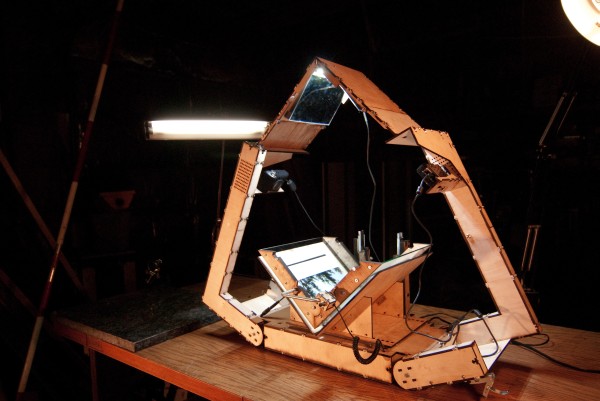
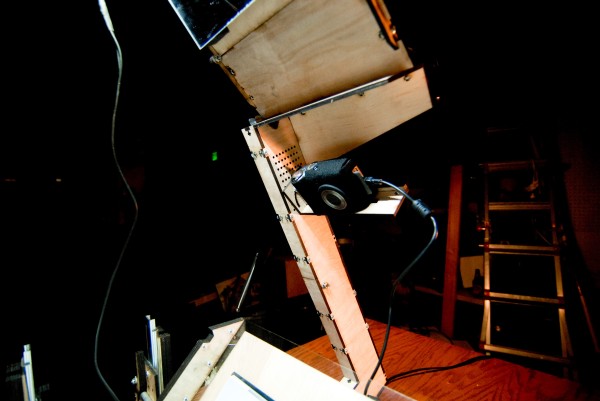
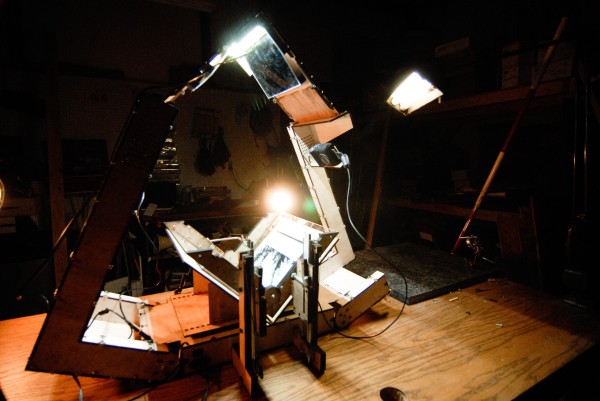
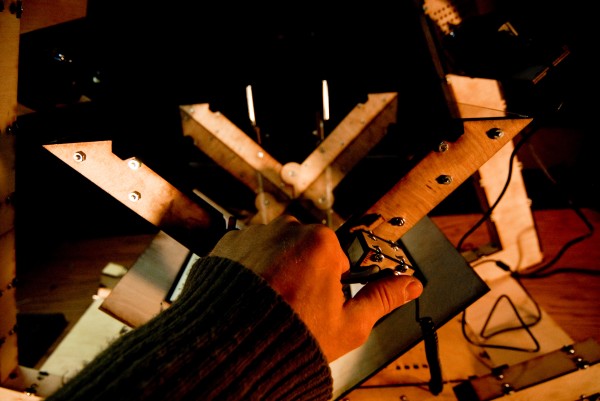
High res, print-ready copies here:
The program is finally public: You can see me on the “C is for Culture” panel at 2:30 PM on Friday, October 9th at NYLS in NYC. I’ll be talking about “The Why in DIY”, in other words, motivations to build your own scanner and scan your own books, each motivation with a real-life example that’s come out of the diybookscanner.org community.
I’d love to see you there.
Edit: Thank you, BB, for the correction.
Quick notice with more to follow: I’ll be speaking in New York at the NYLS conference “D is for Digitize”.
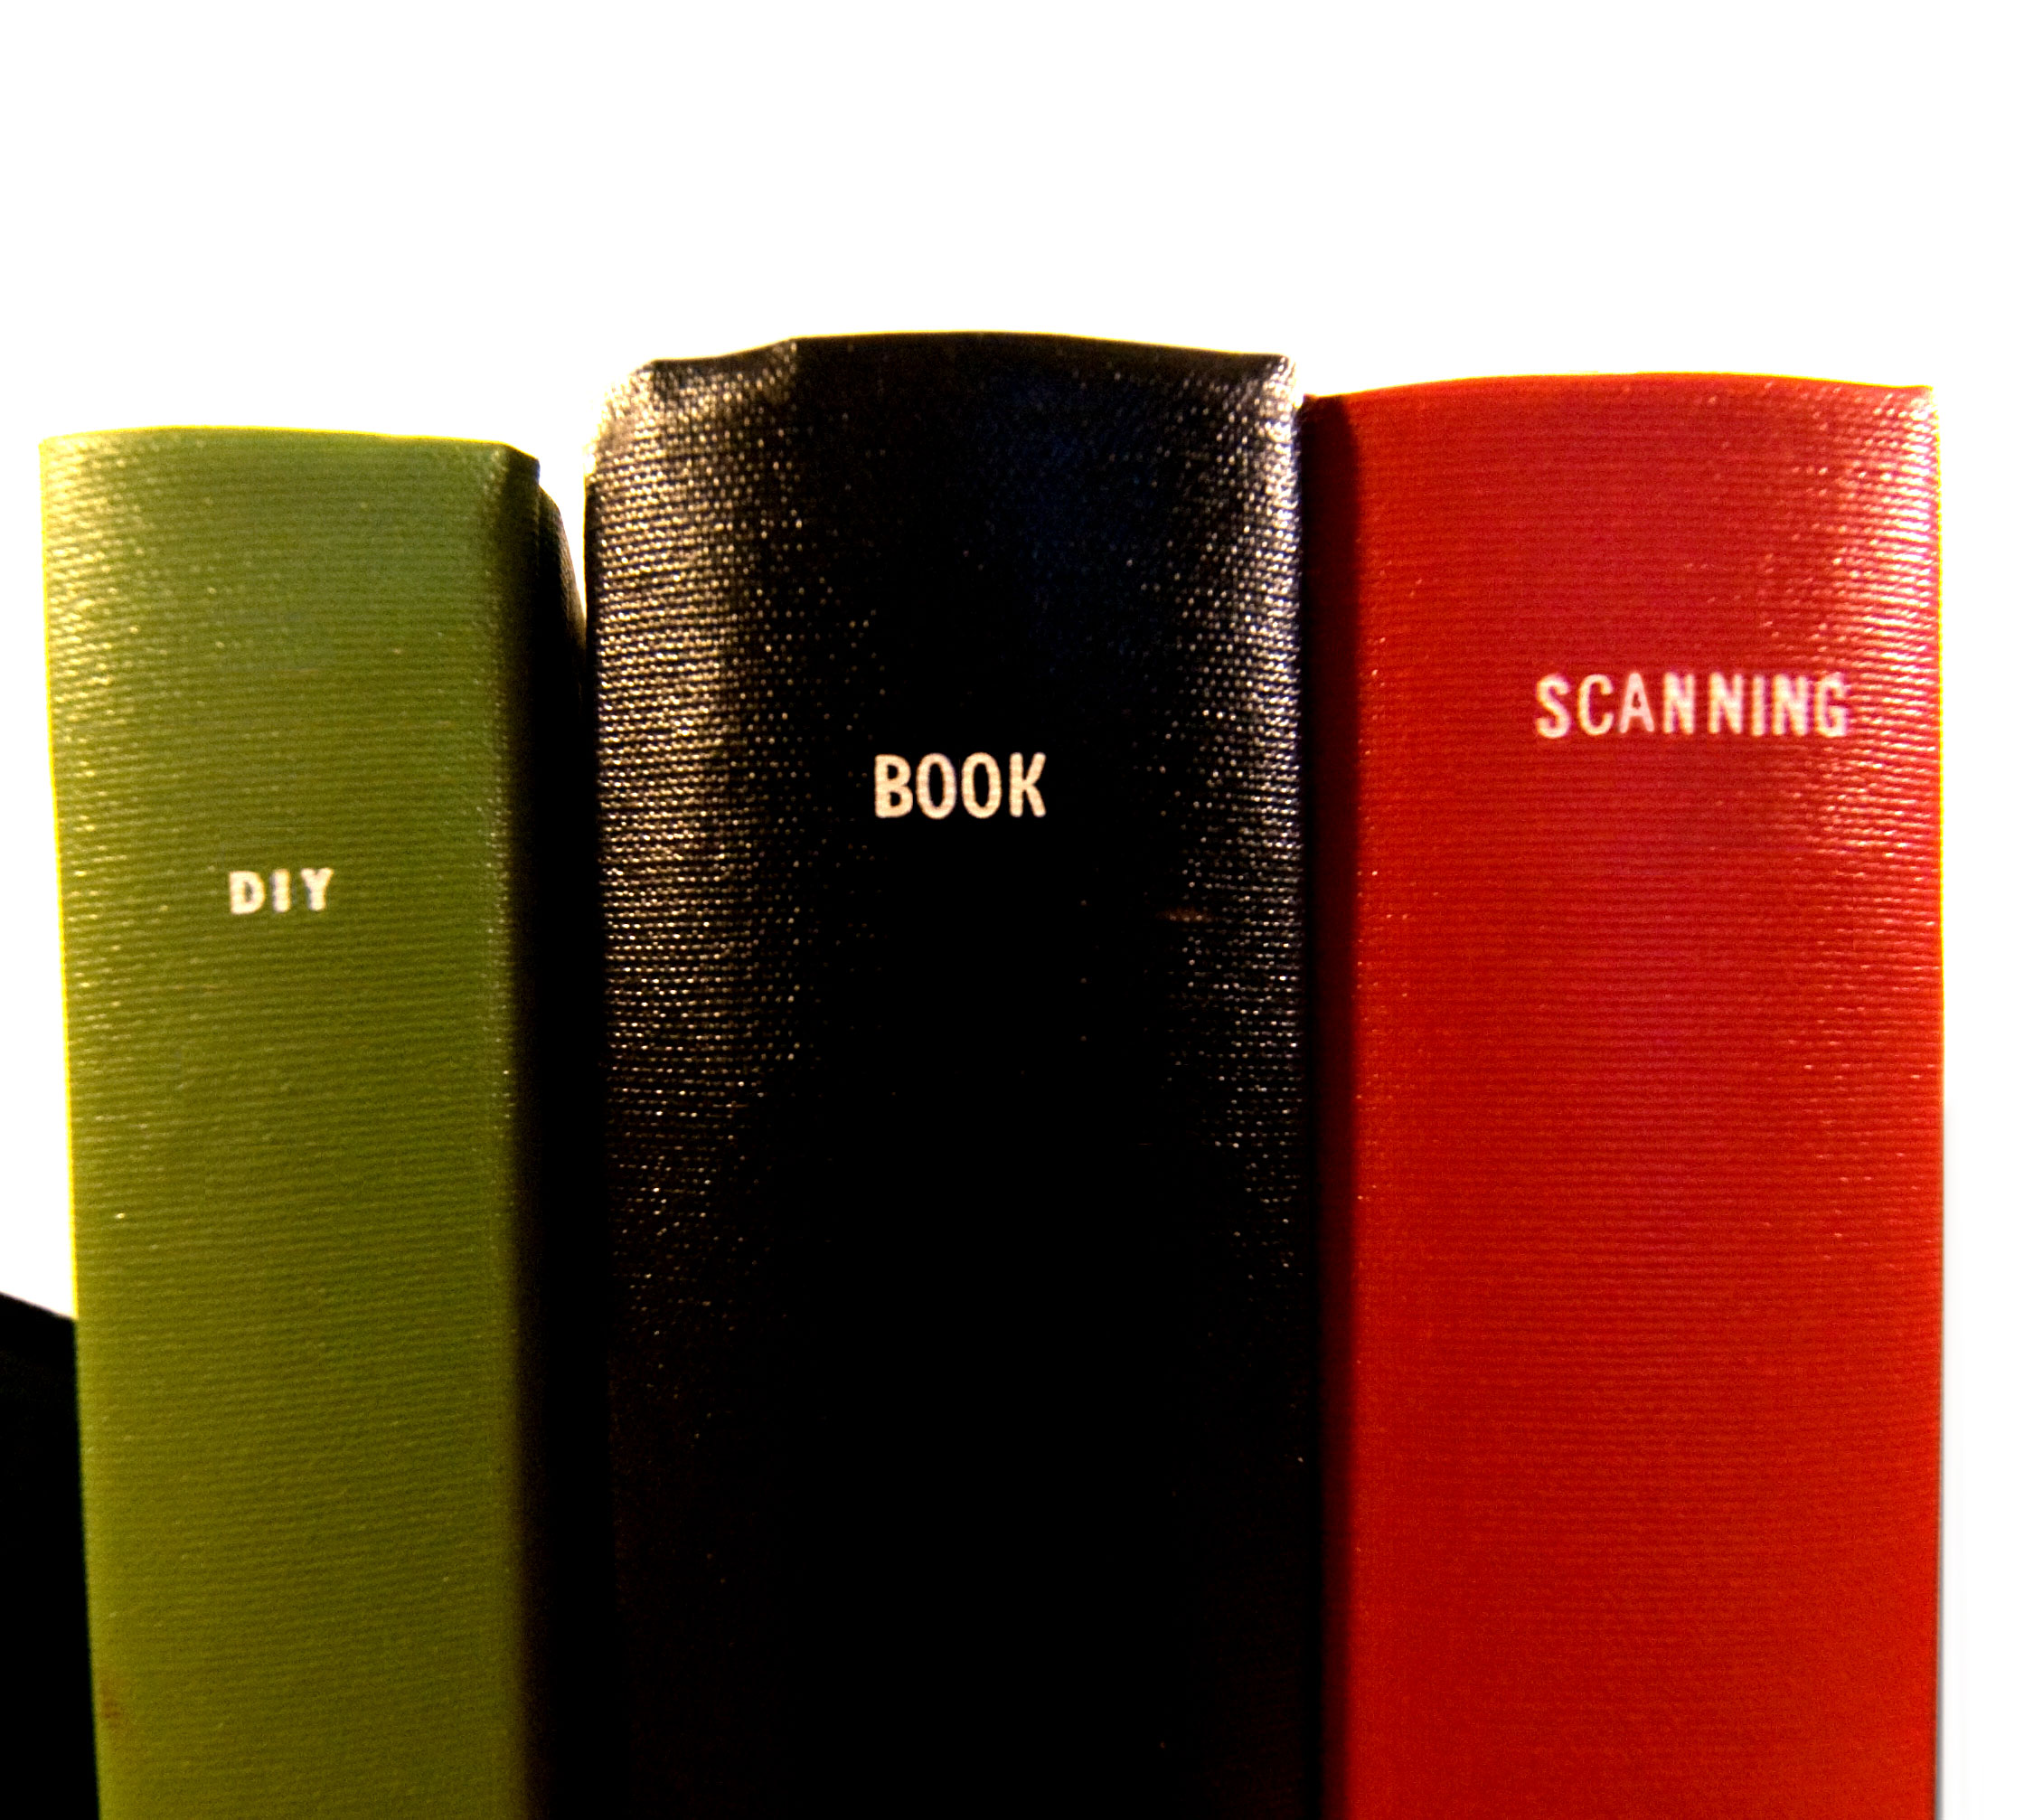
In January 2009, I made a cheap, simple book scanner and in April I put the complete plans online. Since then, not only did I land a laser cutter from Epilog, but better still, a number of people have built their own scanners and made incredible improvements.
Though Instructables has been very kind to me, it was time to lay the foundation of a new community dedicated to building book scanners and book scanning software. To that end, I created DIYBOOKSCANNER.ORG.
Another scanner builder, Rob, is helping moderate the community and maintain the software. We’re still working on things behind the curtains, but I urge you to come join us and help work toward the future of books.
I am pleased to announce the release of a major project — complete plans for a high-speed book scanner made from off-the-shelf cameras and salvage. With the help of Aaron Clarke, there is now software to complete the process, too.
The complete plans and software are on Instructables. Please vote for this project!


PageBuilder:
Big thanks to Aaron Clarke, Noah Bicknell, L, and everyone else who contributed. Couldn’t have done it without you.
WAT bought an absurdly powerful magnet, with the intention of recovering metal objects from the riverbed. The problem was: how to suspend it without putting too much distance between the magnet and the junk?
This is my first answer.
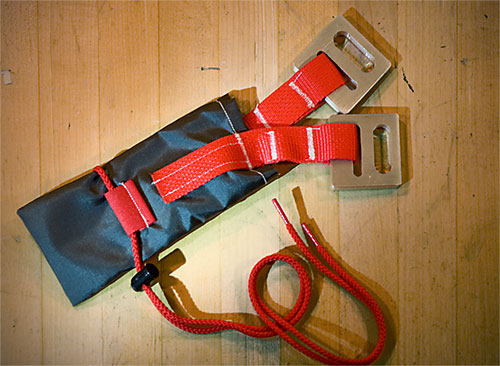
It’s a Supplex pouch with double-stitched, melted and reinforced seams and hand-milled aluminum nonmagnetic hardware. The pull-cord is just an extra safety to prevent the magnet from falling out in unusual circumstances.
I’m mostly satisfied with the design, but some of the stitching across the webbing was imperfect. I suspect this was primarily due to the tension induced by using upholstery-grade thread, which is very heavy and causes weird tension problems where it shouldn’t, like the eye of the needle.
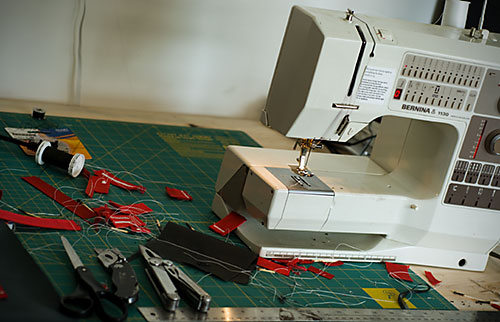
I made it with my mom’s Bernina 1130. I learned to sew on this very same machine, twenty years ago. It’s a testament to the quality of the tool that it still sells for almost a grand on eBay. I love Swiss machines and I hope to own this one someday.
I write electronic music, and I also modify (“circuit bend”) electronic instruments. Since it is easy to destroy cheap Casio synths when poking around inside them, I often digitize all of their sounds before beginning the modification process…. which leaves me with hundreds of useful and interesting loops.
I’ve decided to start releasing my loops into the public domain. Why public domain? Because Creative Commons licenses have some nagging problems, and while I appreciate attribution, I am not interested in restricting your rights in any way. Quite the opposite.
Included in this file are 89 drum loops sampled from a Casio CTK-150 synthesizer(24mb). There is also a photograph of the loop-table on the machine, so you can guess at the name of the loop (eg. “Rock 1”). They are named in the order that I recorded them, but I can’t guarantee that they follow the table exactly. If you appreciate this work, perhaps you’d be interested in naming the loops according to the table.
Also included in the zip file is a text file proclaiming the public domain status of these loops. If you feel like giving attribution, please cite the Fakeproject Corporation of America (www.fakeproject.com).
Recently, I had the singular pleasure of being interviewed by Laura McDaniel, for NDSU Magazine. I am really pleased with the way the interview turned out, and my artwork is featured on the cover.
The entire issue (Fall 2007 Vol. 8, No. 1) is available online.
In support of our Company‘s goal of increasing quality and quantity of graffiti everywhere, the Fakeproject Corporation of America has issued a coloring book, free of charge,which allows graffiti artists to hone their tagging skills before application in real world situations.
If you, the artist, actually intend to use the book, please download the high-resolution PDF.
FPCoA wishes you good health and not death. Please, take some time to review other things we’ve made available.
Update: I’ll be playing at 10pm, sharp.
Update: Better link to more information about the show.
You may have seen the previous notice or two about my show in the Plains Art Museum. I’m lucky enough to have another one coming up, this time an audio-video show much like the Winter Carnivale performances I’ve done in years past.
This will be the first public musical performance I’ve done in over two years.
I’ll be on in the middle of the evening, I’m guessing around 10, but don’t know exactly. I’ll be performing a 25 minute set of live music, accompanied by video.
Very little more information here.
The Soviets had a long and productive run with film, producing hundreds of movies, some absolutely stunning. While in Russia, I had the opportunity to copy a large number of posters, as well as fifty or more films.
I had intended to mark each poster with an English translation/transliteration, IMDB reference, and the name of the poster artist where available, but while I am studying Visual Neuroscience the likelihood of this work actually getting done is extremely low. My time is spoken for.
As such, I feel it is a better idea to release the un-annotated collection of Soviet movie posters to the public now. Enjoy, and if you’d like to work with me to annotate the posters, I would be very glad to hear from you.
Daniel Reetz, in collusion with the Fakeproject Corporation of America,
presents a selection of Soviet Movie posters from 1921-1973.
In 1952 the Soviets published “Kniga o Vkusnoi i Zdorovoi Pishe” (“Book about Tasty and Healthy Food/Eating”).
This book contains many fascinating and beautiful examples of Soviet-era product design.
The FPCoA, having scanned the entire volume, presents the most interesting color plates here, free of charge.
The Corporation wishes to specially thank Dima and Irina Solyanoy for their assistance in locating the book.